Set up Your Java Dev Environment for PHLO
In this guide, you will learn how to set up a development environment in under 5 minutes to trigger a PHLO.
Prerequisites
Install Java and the Plivo Java SDK
You must install Java(Java 1.8 or higher) and Plivo’s Java SDK to trigger a PHLO. Here’s how.
Install Java
| Operating System | Instructions |
|---|---|
| macOS & Linux | You would already have Java installed, you can check this by running the command java -version in the terminal. If you do not have it installed, you can install it from here. |
| Windows | To install Java on Windows you can follow the instructions from here. |
Install Plivo Java Package using IntelliJ Idea
- Create a new project in IntelliJ Idea

- Choose a dependency management and Java SE SDK for the new project

- Install the Plivo Java package by adding the dependency in
pom.xml
<dependency>
    <groupId>com.plivo</groupId>
    <artifactId>plivo-java</artifactId>
   <version>5.9.3</version>
</dependency>

Trigger a PHLO
Once you have created and configured your PHLO, copy the PHLO Run URL. You can integrate a PHLO into your application workflow by making an API request to the PHLO URL with the required payload.
With Static Payload
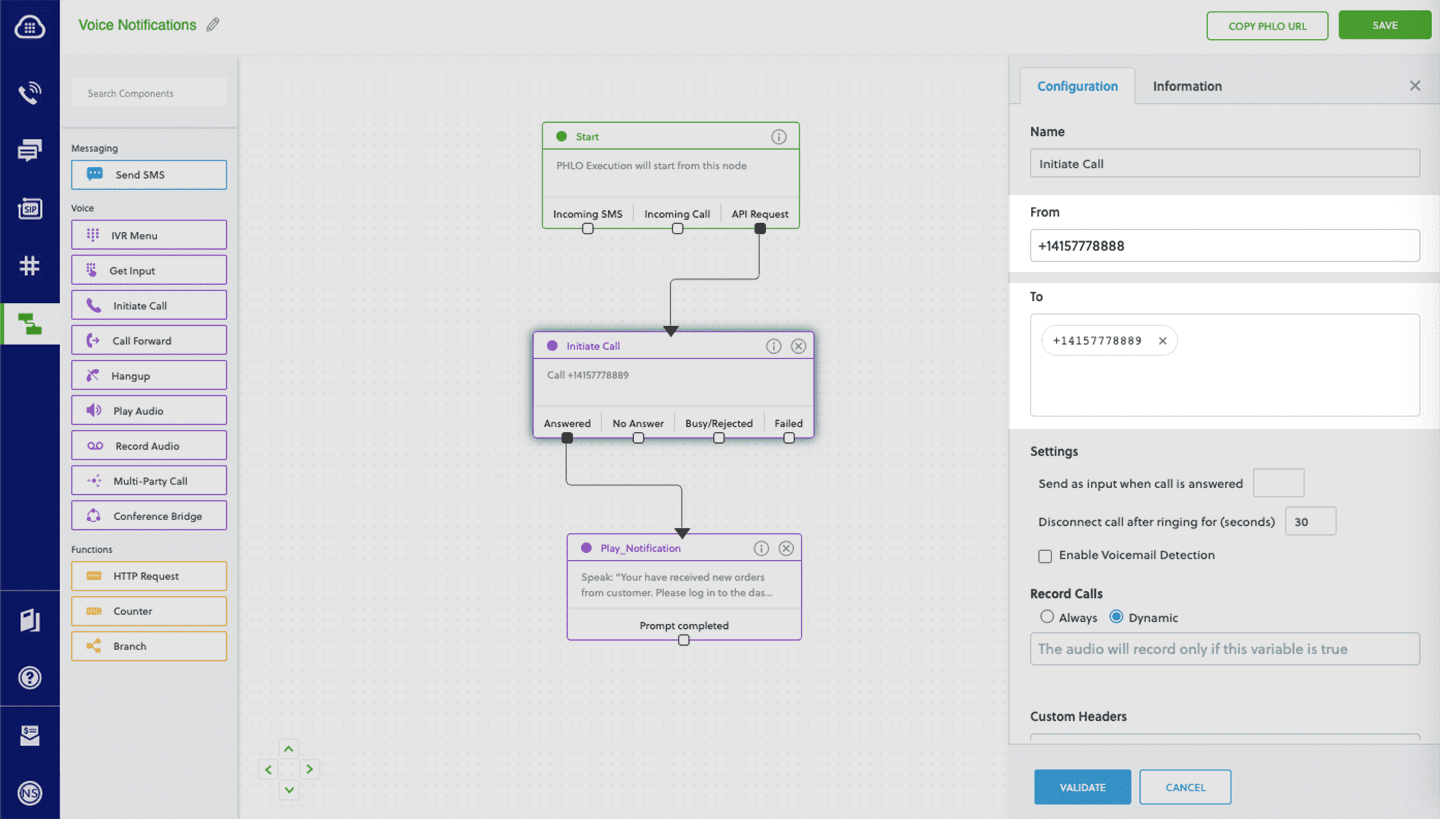
You can choose to either configure the mandatory params required for a PHLO while creating the PHLO itself or, you can pass the params as payload while triggering the PHLO from your app.

Code
1
2
3
4
5
6
7
8
9
10
11
12
13
14
15
16
17
18
19
import com.plivo.api.Plivo;
import com.plivo.api.PlivoClient;
import com.plivo.api.exceptions.PlivoRestException;
import com.plivo.api.models.phlo.Phlo;
import java.io.IOException;

public class Example
{
    private static final String authId = "<auth_id>";
    private static final String authToken = "<auth_token>";
    private static PlivoClient client = new PlivoClient(authId, authToken);
    public static void main(String[] args) throws IOException, PlivoRestException
    {
        String phloId = "Your PHLO ID";
        Plivo.init(authId, authToken);
        Phlo phlo = Phlo.getter(phloId).client(client).get();
        PhloUpdateResponse response = Phlo.updater(phloId).payload().run();
    }
}
With Dynamic Payload
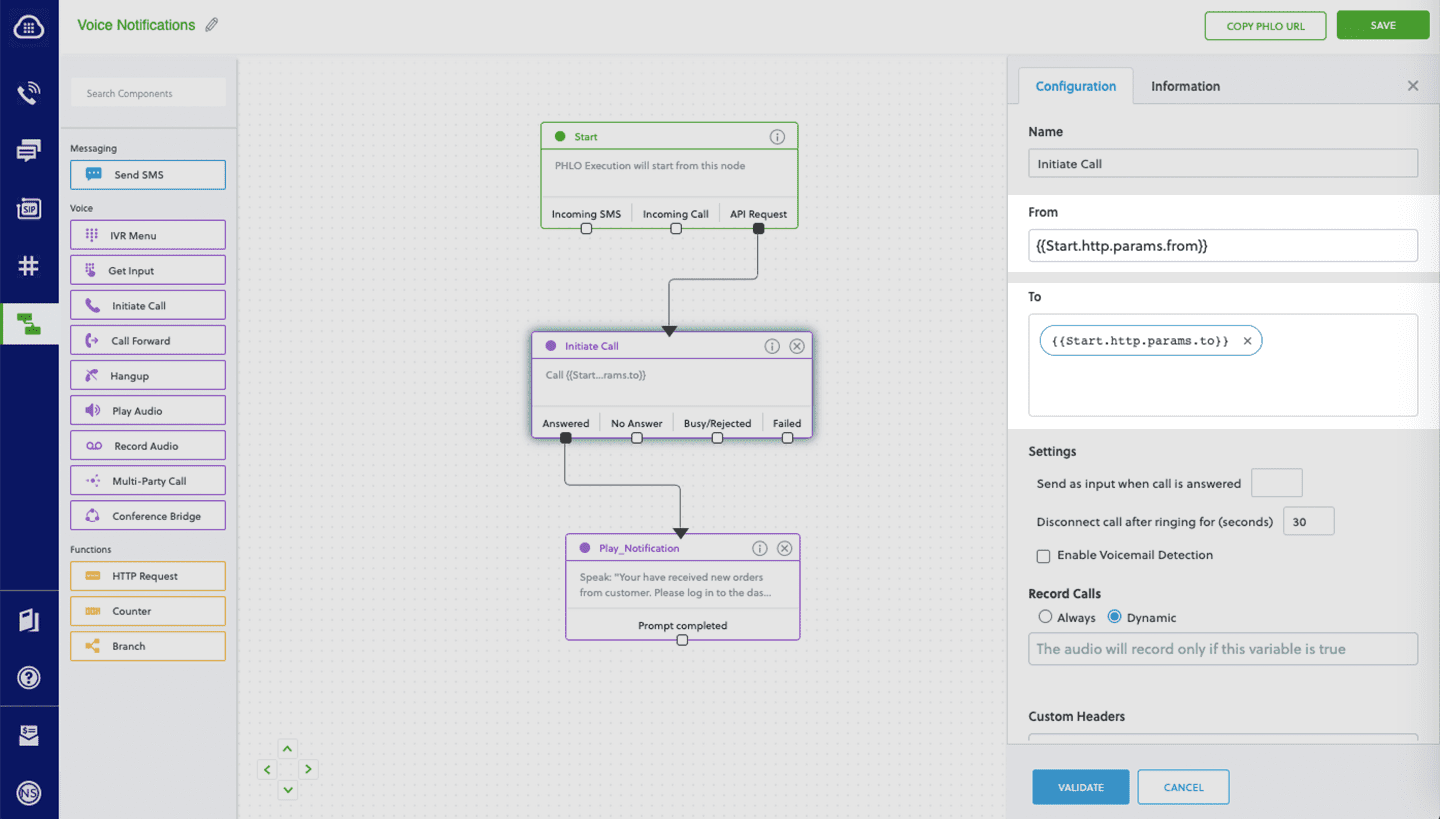
To use dynamic values for the parameters, you can use the liquid templating params while creating the PHLO and pass the values while triggering the PHLO.

Code
1
2
3
4
5
6
7
8
9
10
11
12
13
14
15
16
17
18
19
20
21
22
import com.plivo.api.Plivo;
import com.plivo.api.PlivoClient;
import com.plivo.api.exceptions.PlivoRestException;
import com.plivo.api.models.phlo.Phlo;
import java.io.IOException;

public class Example
{
    private static final String authId = "<auth_id>";
    private static final String authToken = "<auth_token>";
    private static PlivoClient client = new PlivoClient(authId, authToken);
    public static void main(String[] args) throws IOException, PlivoRestException
    {
        String phloId = "Your PHLO ID";
        Plivo.init(authId, authToken);
        Phlo phlo = Phlo.getter(phloId).client(client).get();
        Map<String, Object> payload = new HashMap<>();
        payload.put("phone", "+14157778888");
        payload.put("to", "+14157778889");
        PhloUpdateResponse response = Phlo.updater(phloId).payload(payload).run();
    }
}
You can get your Auth_ID and Auth_token from your dashboard

You can find the PHLO_ID on the PHLO Listing page.

